


News & BLOG
Project #Super71 - Heater Channel Assembly Install
Hi Everyone
This weekend I was able to spend most of the day in the garage. The weather is starting to warm up slowly and that helps inspire me to tackle some larger projects. For the last few weeks I have been working away at chasing out the rust from the body or the Beetle and preparing all the mounting points for the heater channel / firewall assembly that was pre-assembled a couple months ago.
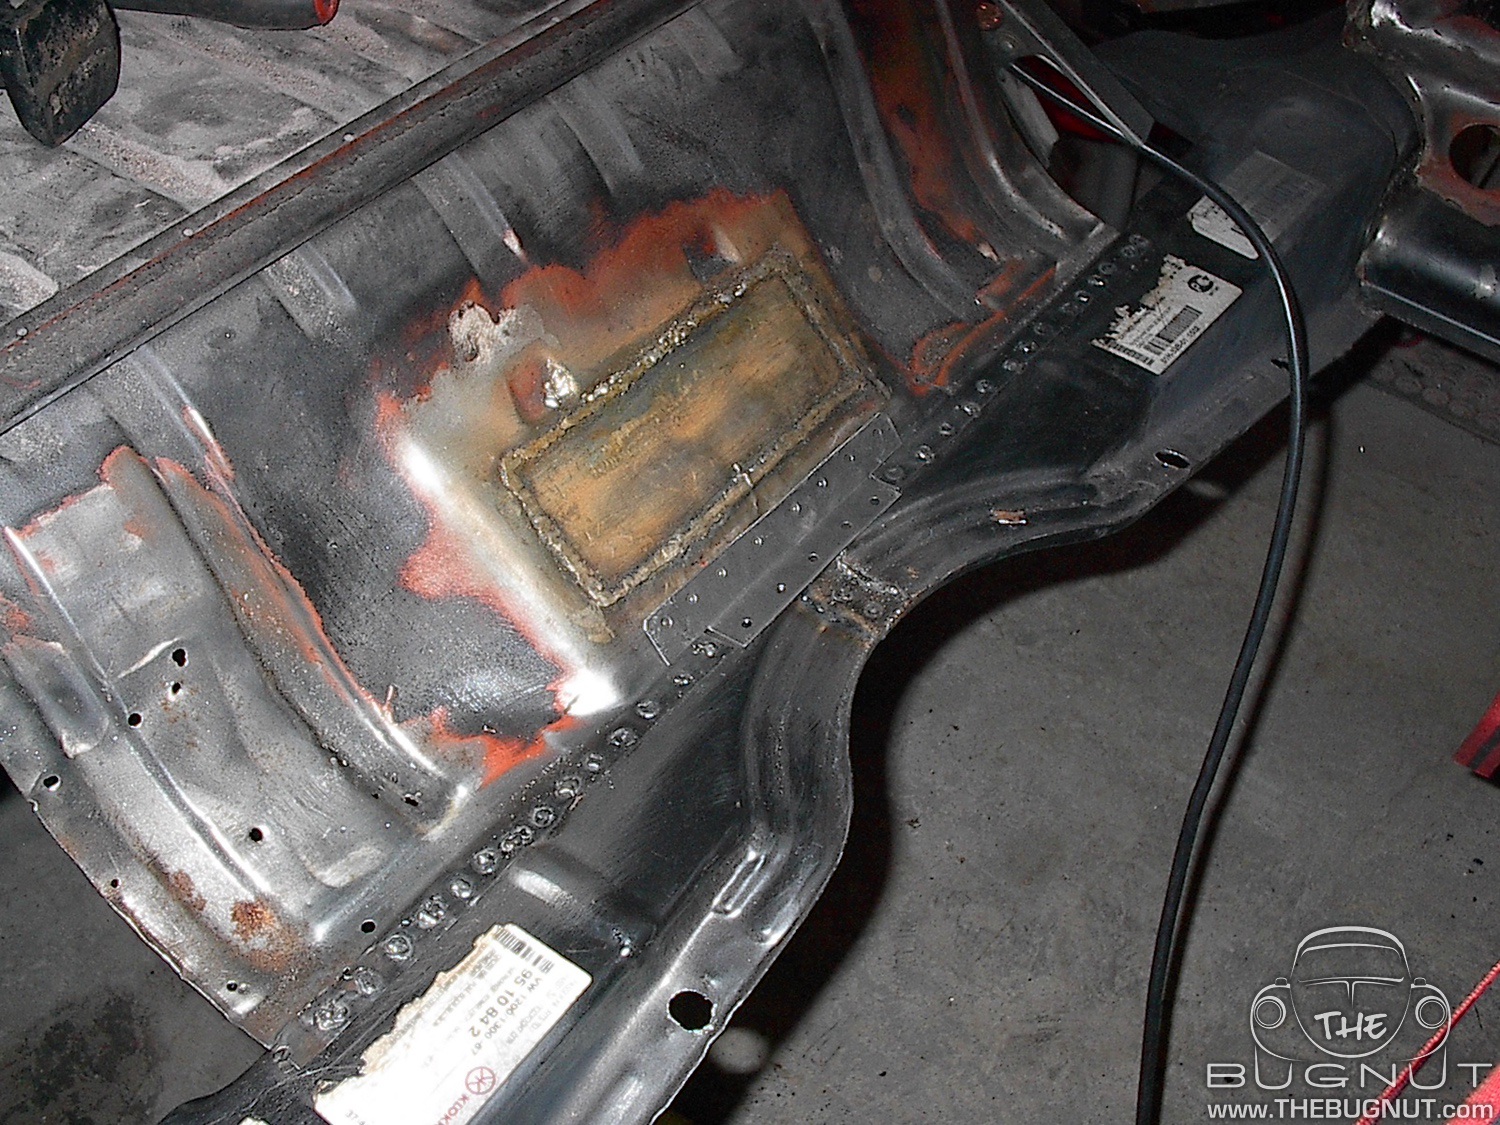
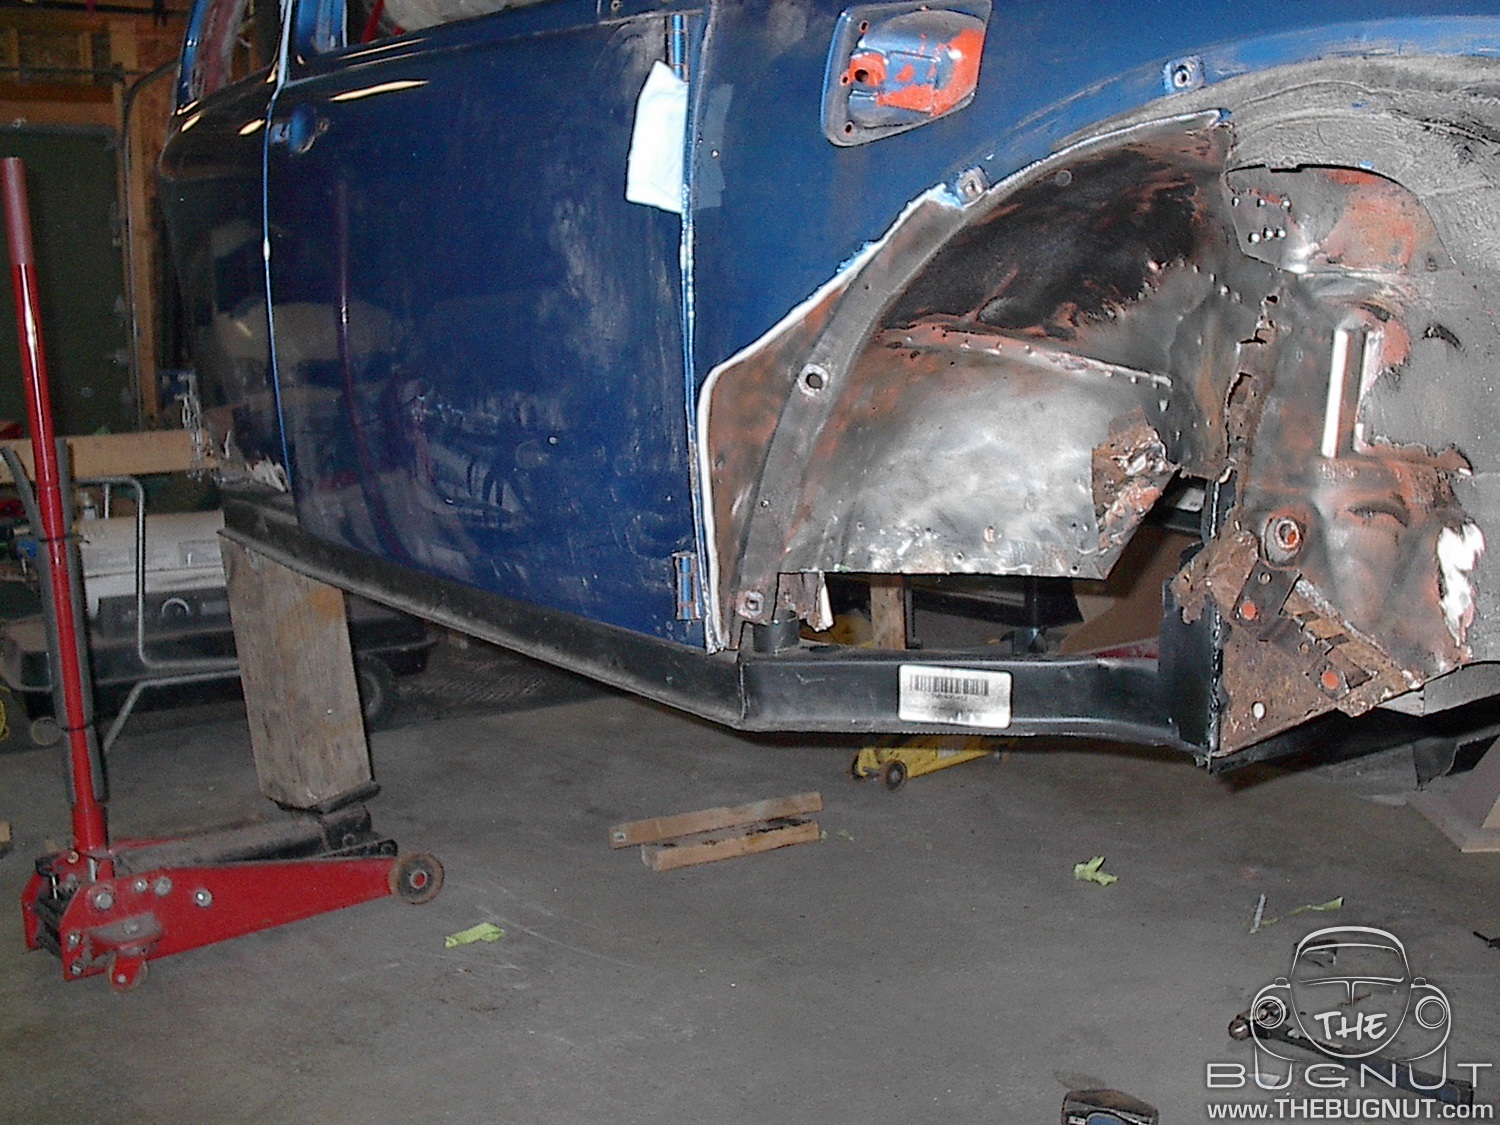
The front firewall seemed to be giving me the most grief, but I cut out the problem areas and will fill those back in with my own metal work later. The rest of the pre-fabricated heater channel / firewall assembly seemed to fit well during the test fitting stage. Now that everything seemed to be ready to install, it was time to put fit it once more and break out the welder.
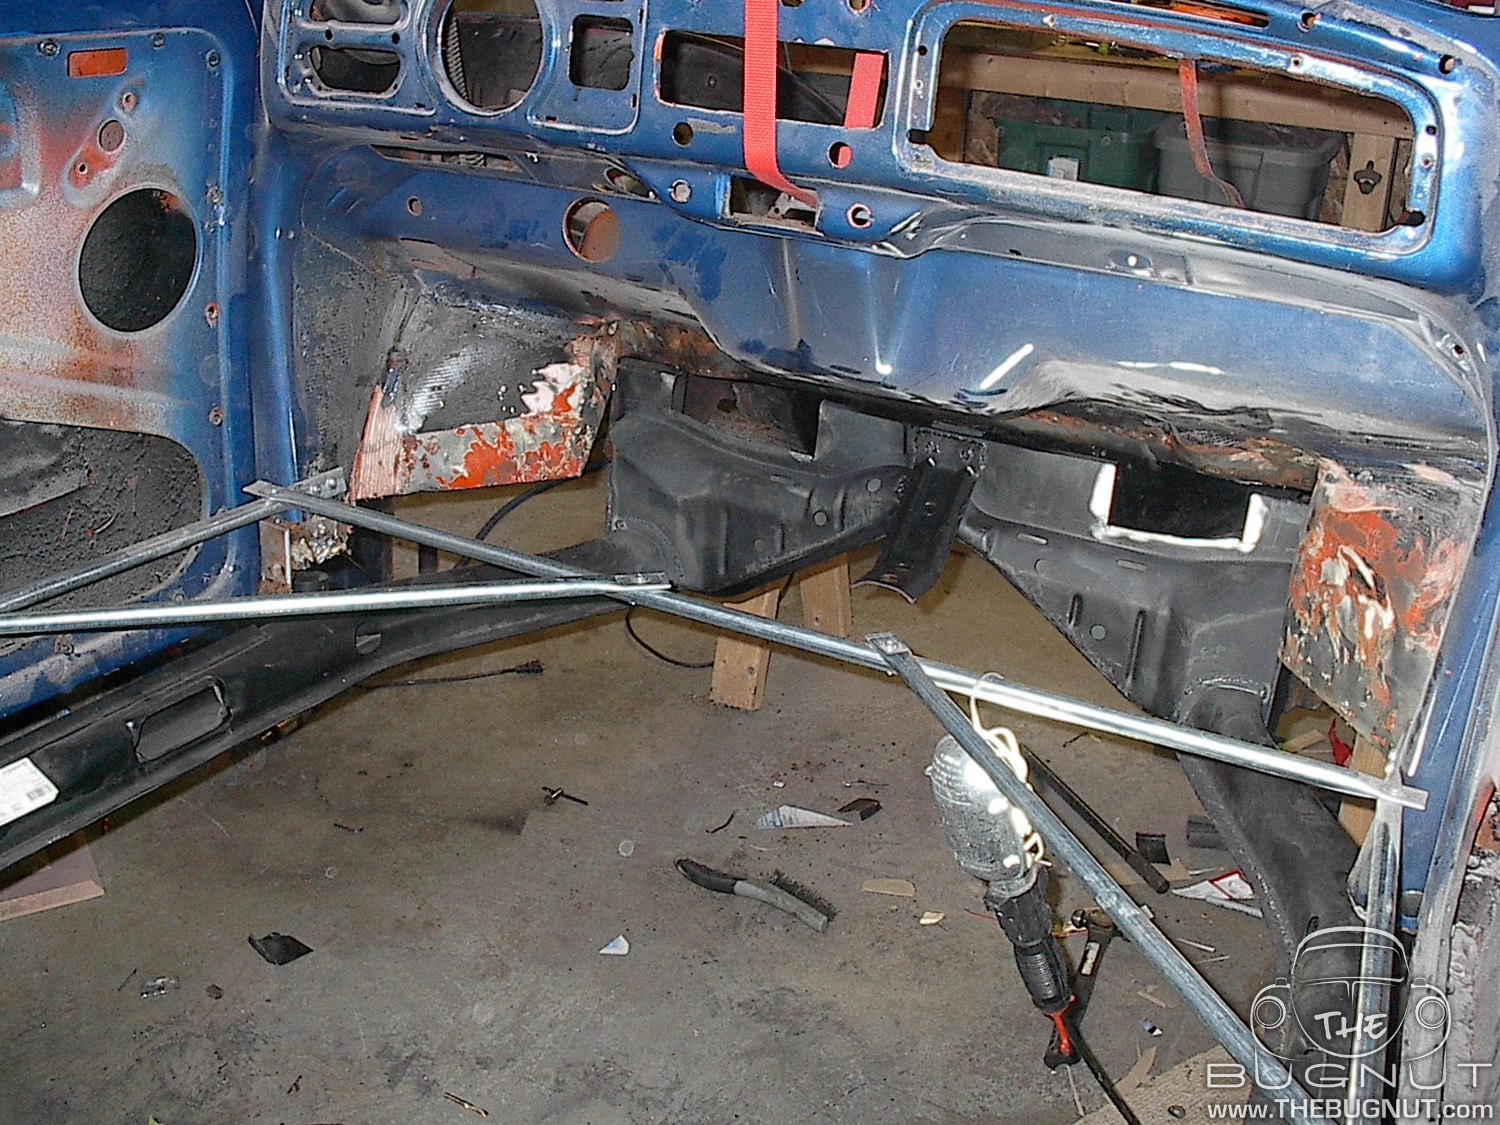
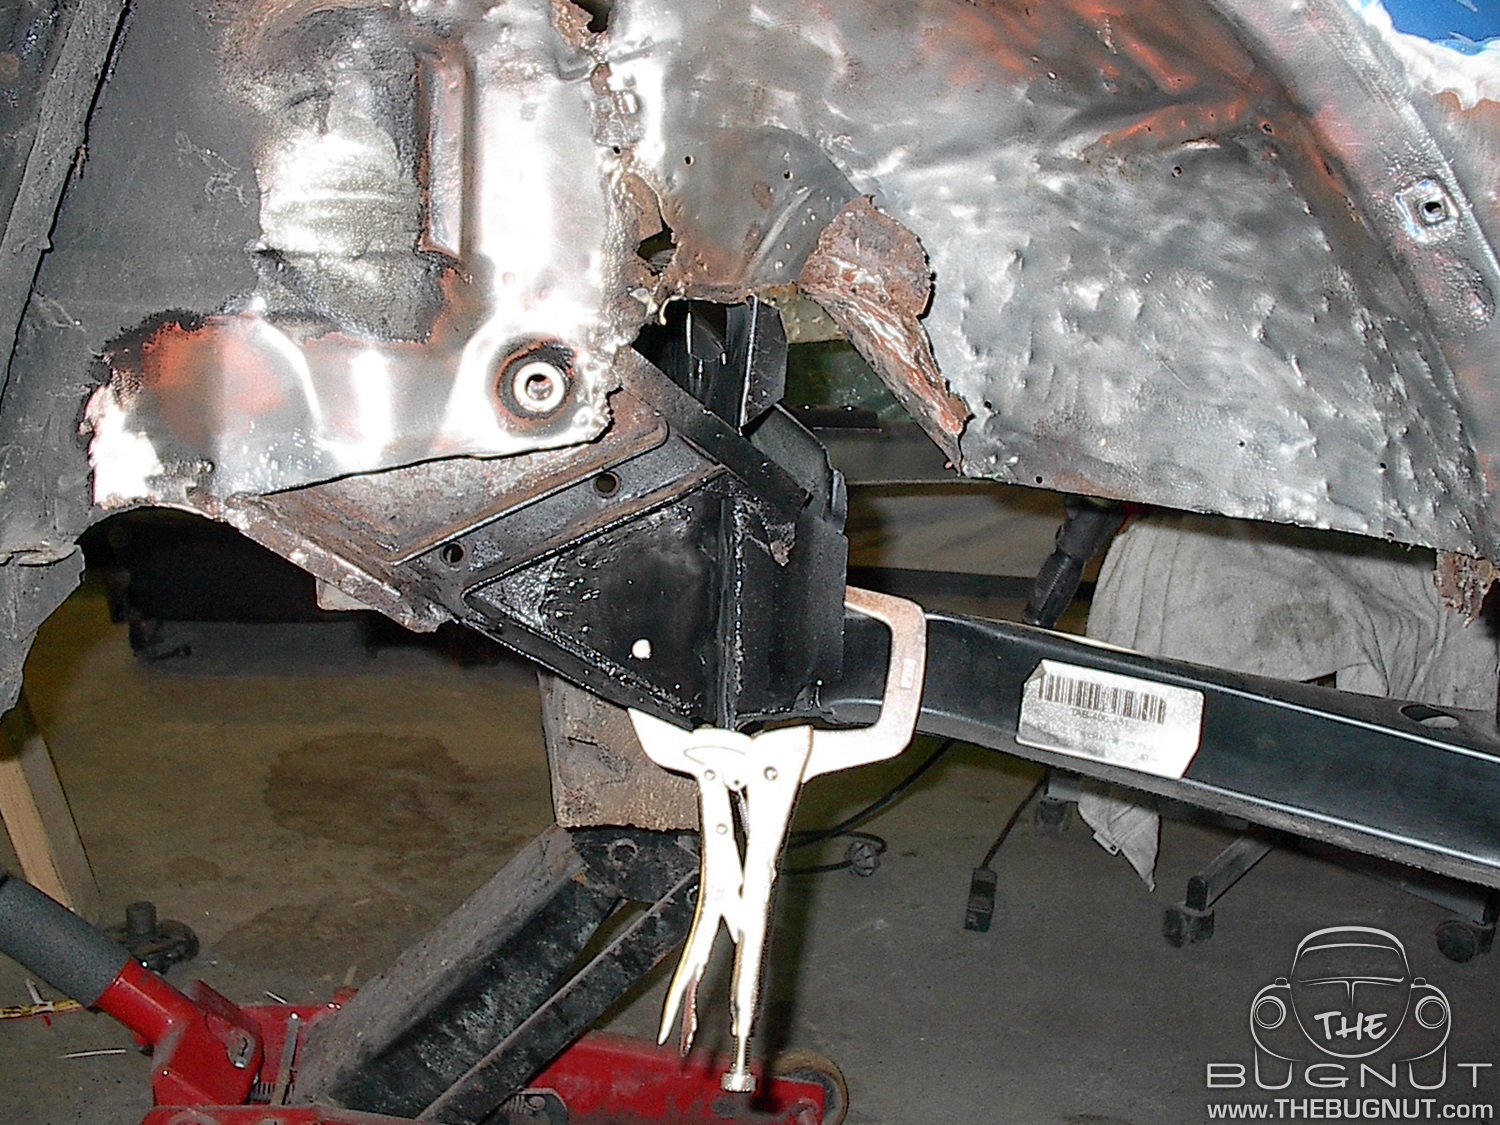
Step one was to puddle weld the front firewall to the braces. I jacked the firewall up into place and made sure it was tight. Then I tapped everything into place just right with a large hammer. I puddle welded the firewall to the two braces in the front and that would be all for now. I didn't want to do any additional welding at this time so It would be easier to move the rest of the assembly into place.
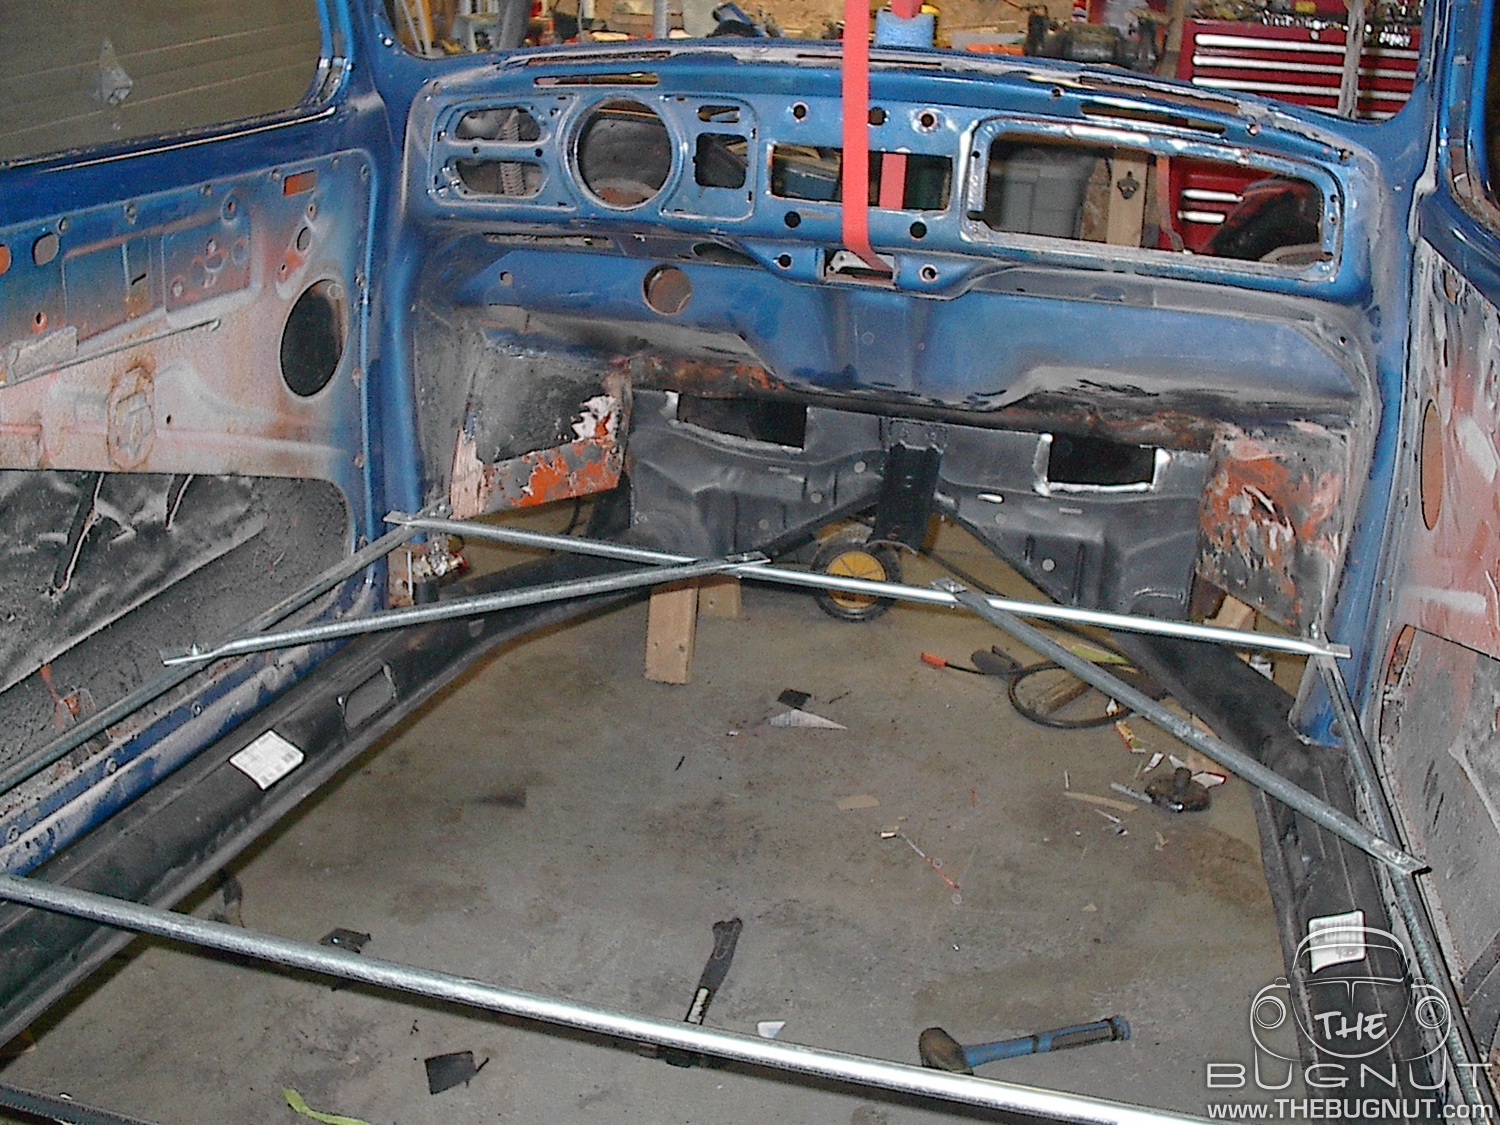
Before moving to the back of the Beetle, I needed to make sure that everything else was properly in place. It is important to know your gaps and spacing around your doors and along the bottom of the rear quarter panels and the bottom door skins. I had already installed support braces inside the car before removing the old heater and cross members to ensure the body would retain its shape. At this time I also taped the doors in place with some paper towels rolled up in the door jams to mimic the door seals. Everything on the body at this time is now solid and in position.

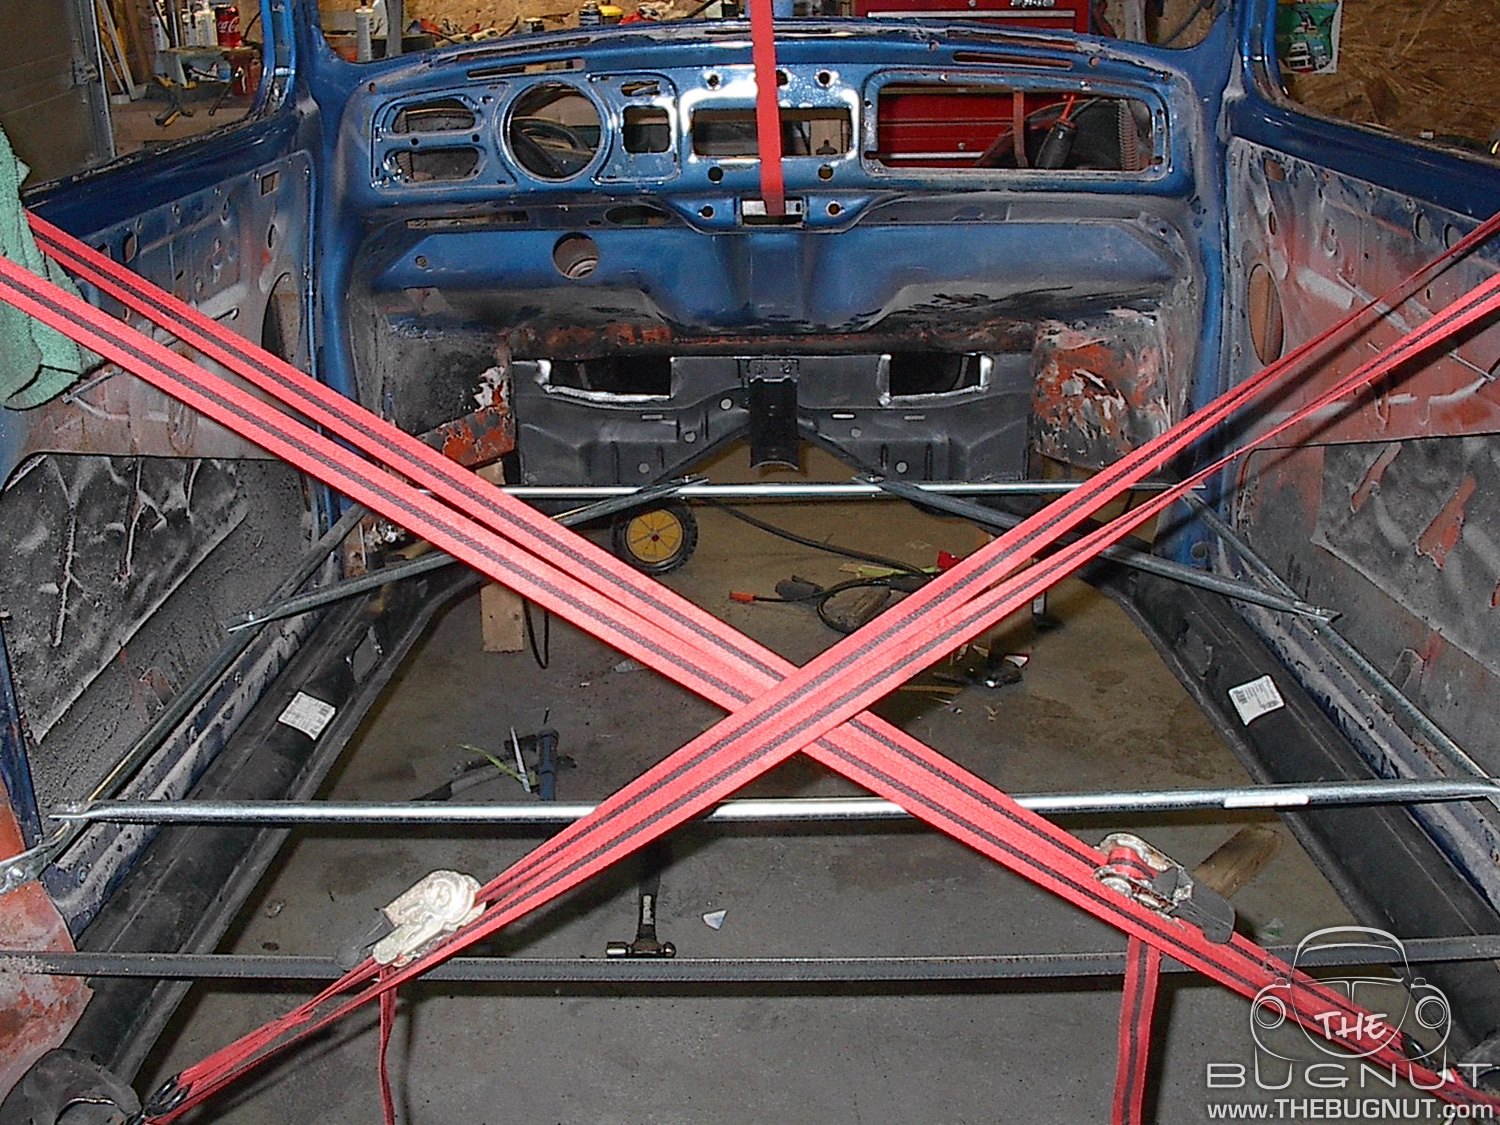
With the front now secured and the body / doors in position it was time to move to the back of my Beetle. I used two ratchet straps to pull the heater channel assembly into place. I wrapped each strap about the opposite door jam / b-pillar and hooked the other end to the hole that already existing in the new heater channels. This was a perfect solution. I was able accomplish two things with this technique. I could easily lift the assembly into place, and I could also adjust the assembly horizontally so that it was centred to the body and the the gaps in the door jams were the same. With everything in place, I welded the rear cross members in place and called it a day.

I now have to double check a few dimensions around the door area before I start welding along the heater channels. I will use the jack to ensure everything is in the exact spot they need to be, and then weld in the new metal to attach the heater channels to the body on the inside of the Beetle. After that the body should really start taking shape. I will be sure to add a new post as soon and I get back to it.
Thanks for following the build. Please leave your feedback, questions and comments below.
THEBUGNUT

Project #Super71 - One Rusty Frame Head
Project #Super71 - Floor Pans & Tunnel 1.0
Project #Super71 - Goodbye Gas Heater Hole

Get your 3-Pack of 4"x6" die-cut vinyl stickers for only $6.00. We will ship anywhere in Canada or USA for FREE!